Observation Arcs vs. SRH-2D Monitoring Lines
By aquaveo on June 17, 2020Have you ever wondered what is the difference between using an observation arc and using an SRH-2D monitoring line? Both make use of arcs drawn on map coverages and both are used to show the results of a model run. While they serve a similar purpose, there are significant differences between the two. This article will discuss some of these differences.
Observation Arcs
Observation arcs are made on an observation map coverage. This generic coverage can be used with nearly every numeric model in SMS. It is not specific to only SRH-2D. Observation arcs can be used to generate a profile plot based on the model run results. SMS does this by interpolating the results to locations along the observation arc.
An observation arc can be created before or after the model run. The arc can also be adjusted after the model run to change what is shown in an observation plot.
SRH-2D Monitoring Lines
SRH-2D monitoring lines are created on an SRH-2D monitor coverage. This is an SRH-2D specific coverage that will only work with an SRH-2D simulation. The monitor coverage must be included in the SRH-2D simulation during the simulation run in order for the monitoring lines to produce results. A plot from the monitor line can be viewed in the Simulation Run Queue during the model run.
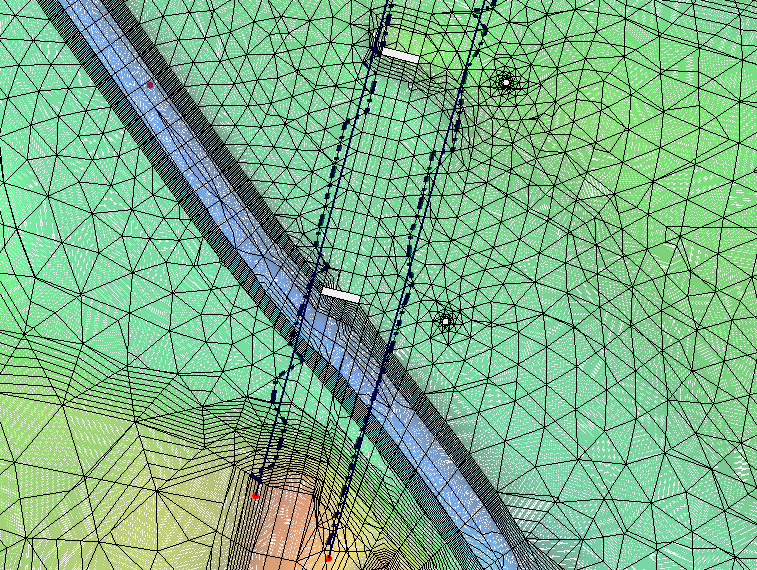
When creating monitoring lines, arcs are drawn on the SRH-2D monitor coverage. It is important to pay attention to how these arcs snap to the SRH-2D mesh. Monitoring lines will follow the nodes of the mesh instead of interpolating to the location of the arc. For SRH-2D, this makes the results of the monitoring lines more accurate than observation arcs.
The results from the monitoring lines are found in the the *.dat file that starts with “LN”. If a change is made to a monitoring line after the simulation run, the simulation will need to be saved and run again to get the new results for the monitoring line.
Using both monitoring lines and observation arcs is common for many projects. Keeping in mind the differences will help you make better use of both of them. Try using observation arcs and monitoring lines in SMS today!