The HDF5 File Format and MODFLOW
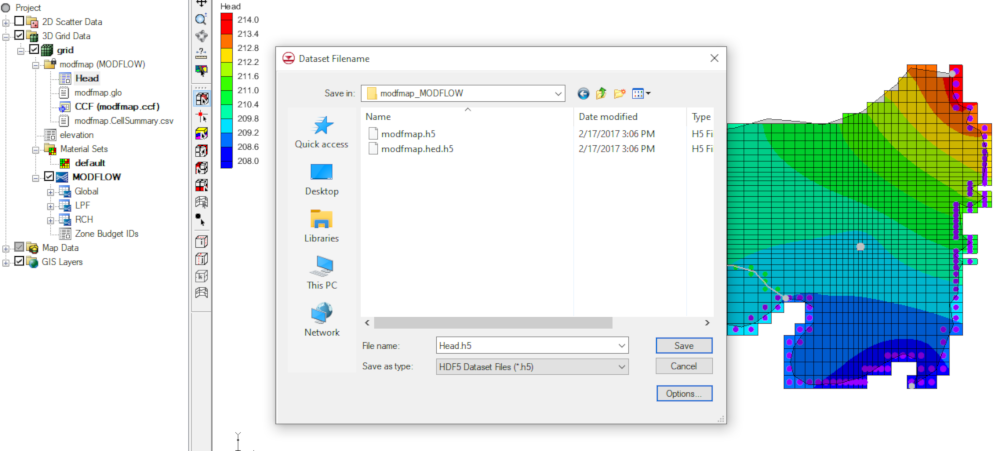
By aquaveo on September 2, 2020The HDF5 file format is a cross platform binary format for storing scientific data. HDF5 allows you to reduce the size of the file data by compressing repeated values. This allows your data to be read and written much faster than if you stored the data as ASCII (plain text) files. GMS can read and write to HDF5 files, and stores its own HDF5 files with the other MODFLOW data files.
There are no hard file size limits. The number of objects within an HDF5 file is not limited, and the format supports complex relationships through grouping and linking. In addition to support for common metadata types, you can create user-defined metadata to accommodate whatever needs you have in your project. The only limits with these are the capabilities of your computer.
HDF5 was designed to be extensible and to allow for future changes to the platform. GMS takes advantage of this by checking HDF5 data for key values in order to substitute them into your arrays or lists. This allows you to better use transient parameters and very large pilot point sets. GMS handles the pilot point interpolation through an external routine that helps speed up the processing.
There are external HDF5 file viewers and editors, such as HDFView. However, it is very easy for you to modify the data in such a way that it makes the HDF5 unreadable by GMS. Because of this, we recommend only viewing the files using these tools. You should only manually edit the file if given explicit directions by a developer. If modifications need to be made to the HDF5 file, we recommend you make the changes to your project in GMS which will re-export the HDF5 file.
Learn more about the HDF5 file format from the HDF Group, a consortium of scientists worldwide that works on the HDF5 format. You can also read the article on the XMSWiki about using the HDF5 format with MODFLOW. This article goes into more details about multiple specific uses for the file format.
Make use of HDF5 files with MODFLOW in GMS today!