Using A Well Pumping Rate to Calibrate a Model
By aquaveo on August 11, 2021Have you needed to know how to use a well pumping rate as a calibration parameter in a PEST run? For example, this might be useful in estimating a probabilistic capture zone. We have a workflow that can help with this, utilizing an extraction well and the WEL package for model calibration. This post will review how you can set your MODFLOW parameters in GMS to incorporate well information to be used for parameter estimation.
To do so, use the following steps:
- In a well coverage, create a well and give it a constant pumping rate (negative for extraction).
- Go to MODFLOW | Parameters... to bring up the Parameters dialog and click the New button to create a new parameter.
- Turn on the Show all columns checkbox at the top of the dialog and change the Type value to WELL.
- Enter the value that was used for step 1 as the Key, and enter its inverse as the Value.
- Enter values for Min and Max that are greater than 0.0. These values and Value will be multiplied by the Q factor later on, which will be -1.0, so positive values listed here will actually become negative.
- Turn on the Log Xform checkbox and close the dialog.
- Go to MODFLOW | Optional Packages | WEL - Well… to bring up the MODFLOW Well Package dialog.
- Enter a Q factor of -1.0 and close the dialog.
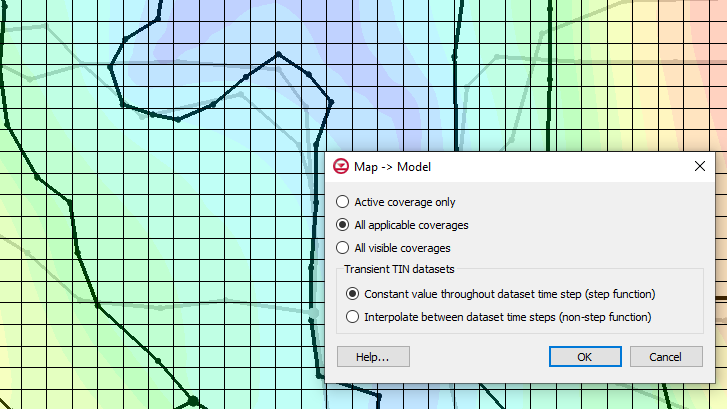
- Go to MODFLOW | Global Options… to bring up the MODFLOW Global/Basic Package dialog.
- Under the Run options section, select Parameter Estimation and close the dialog.
- Create a new Observed Flow coverage with Observation Points set to Head in the Coverage Setup dialog, and create a head observation with the Map module active.
- Save the project and then click Run MODFLOW to run the PEST Parameter Estimation. When the run is complete, make sure to read the solution into your GMS project.

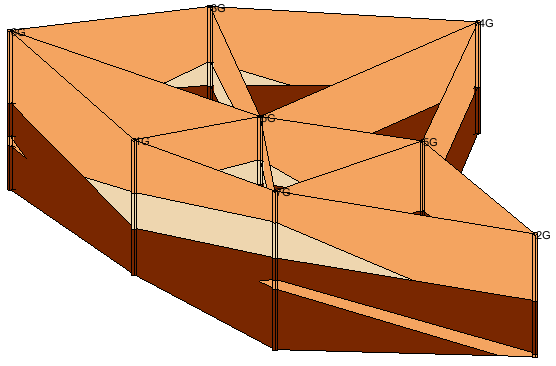
Following the above steps will generate solution data where you can use any of the post-processing tools in GMS to review and adjust your model. Try out using well pumping rates in model calibration in GMS 10.5 today!