How to Troubleshoot Graphics Card Issues and Display Issues
By aquaveo on June 23, 2021Out of all the potential issues that can come up, display issues can be some of the most annoying. Display issues can come from individualized hardware configurations, display settings, operating system and software versions which makes solving these issues not as simple as a one-size-fits-all approach. This post will review general best practices for troubleshooting these kinds of issues with your graphics card or display.
Some of the most common display issues that can arise with XMS are problems with one or more of the following:
- Transparency
- Functional surface
- Texture mapping
- Film loops
- Contours
The causes behind display issues can be divided into the following categories:
- Issue related to remote desktop or virtual machine
- Integrated graphics used instead of discrete graphics
- Bug in graphics drivers
- Limitation of integrated graphics
- Bug in XMS affecting all hardware configurations
- Bug in XMS affecting specific hardware configurations
Since hardware configurations vary and operating systems change over time, the information here is a general workflow used for troubleshooting.
- Remote and Virtual Machine issues: Check if XMS is being run locally or if a virtual machine/remote desktop is being used to rule out Category A.
- Versioning: Go to Help | About to note the XMS version, build date, and graphics library used.
- Try to rule out Categories E and F: Run XMS in Software Graphics Mode. If the issue is resolved in Software Graphics Mode, then the issue is related to Categories B - D.
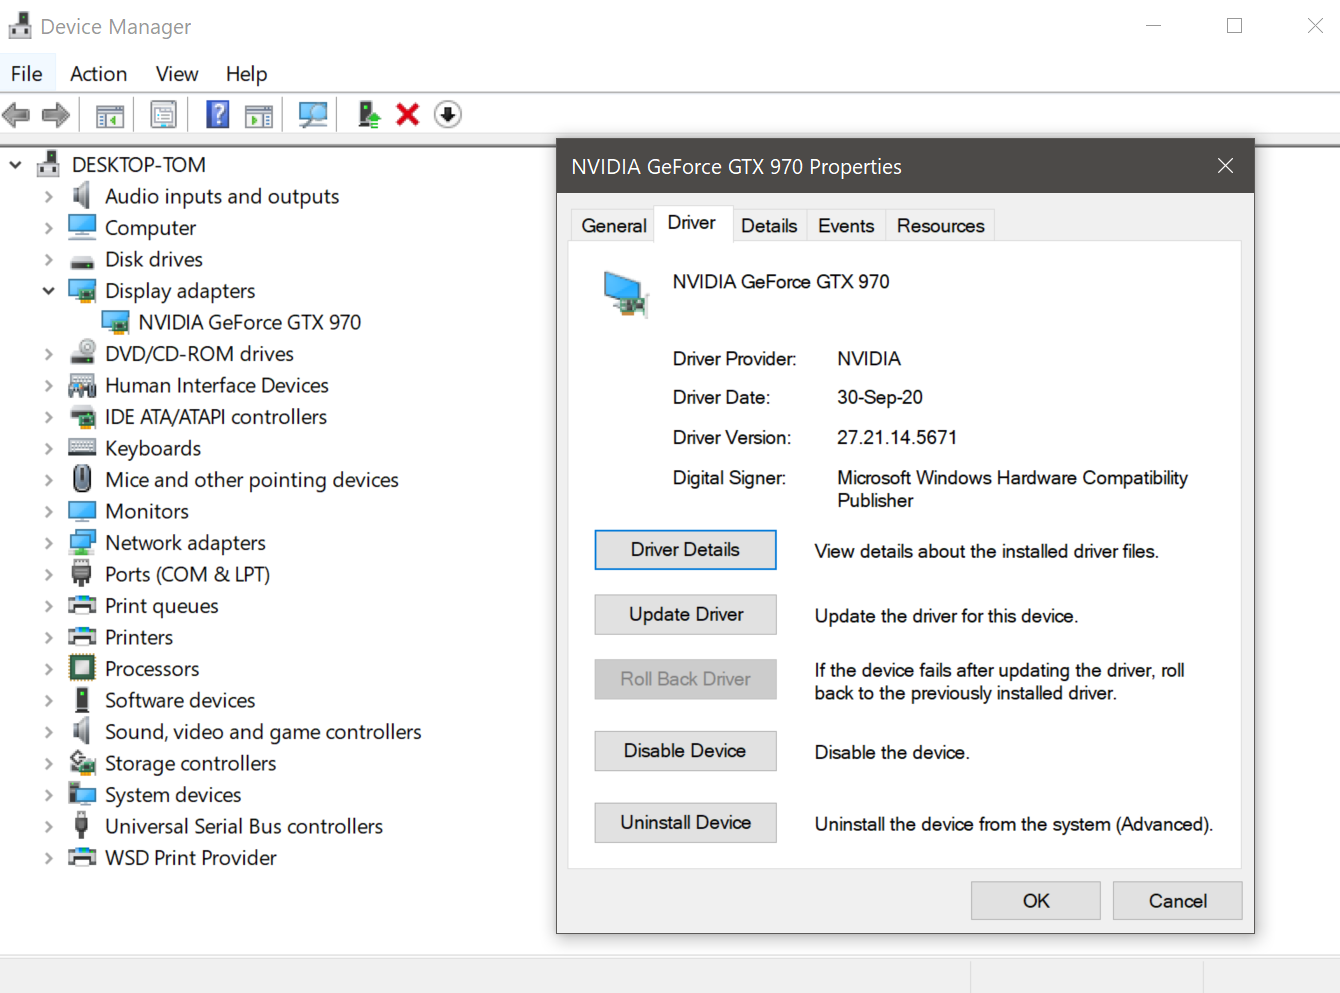
- Try to rule out Category B: Go to the Device Manager for the Display Adapter. If the driver information/version for the discrete graphics matches what is shown in Help | About, then XMS is using discrete graphics. If not, go to Step 6 to ensure XMS is using discrete graphics.
- Update graphics drivers: Whether or not the system has discrete graphics, updating the graphics driver will solve some display problems. If the machine already has nVidia or AMD software installed, drivers can be updated through those programs. Otherwise, click the “Update Driver” button (shown in the dialog in Step 4) or Google “GraphicsCard Driver Download” using the graphics card model you have in place of GraphicsCard. Exercise caution with the links you click on. Be sure to click on official AMD, nVidia, or computer manufacturer websites. Avoid 3rd party utilities that offer to optimize your system or install adware/spyware.
- Set system to use discrete graphics: Change settings to ensure XMS always utilizes discrete graphics. Many systems, especially laptops, default to power saving modes where programs utilize integrated graphics even if the machine has discrete graphics. The way to change these settings varies by machine.
- Reporting Bugs: If Categories A - D have been ruled out, determine if the issue is machine-specific. If reproducible, report to tech support.
If you continue to experience display issues, contact Aquaveo's technical support team.