Using Advanced Data Services Options
By aquaveo on May 22, 2019In the current versions of GMS, SMS, and WMS, the data service options for importing online maps has changed. It was noted by some of our users that the Advanced option for the Data Services Options dialog was removed.
We are happy to say that the advanced options for the Data Services Options dialog has been restored. The new advanced options are only available when using the Import from Web command in the release of GMS, SMS, and WMS that went out at the beginning of May 2019.
To access the Advanced options from the Data Services Options dialog, click the Advanced button, just as before, to bring up the Select Online Source dialog. This dialog allows users to bring in new data sources for downloading data.
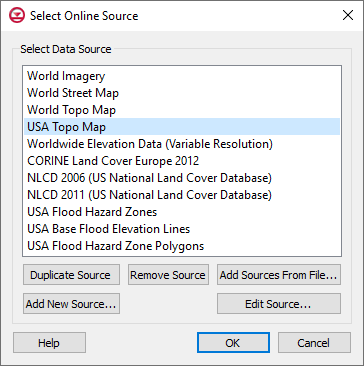
Adding new data sources to the Select Online Source dialog can be done in any of three ways:
- The Select Online Source dialog contains a list of all of the data sources currently available. You can select one of these sources and click the Duplicate Source button to create a copy of the data source. Then, with the copy selected, click the Edit Source button to reach a dialog where you can make modifications to the source such as limiting the layers downloaded from the source or changing the image format downloaded from the source.
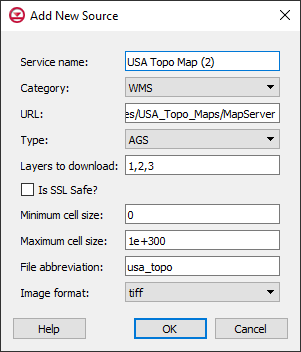
- You can click the Add New Source button to reach a dialog where you can specify the url of a new data source along with any modifications.
- Finally, if you have an Online Source File with the information needed to reach a source, you can click the Add Sources from File to add the source to the available list.
Sources can be deleted from the available list by selecting a source in the list and clicking the Remove Source button. Only sources that have been manually added can be removed or edited.
To get access to the new advanced options for the Data Services Options dialog, visit our downloads page today.