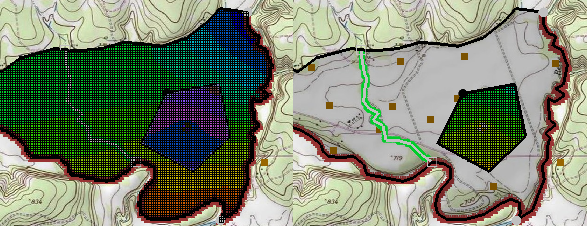
Exploring Hide, Show, and Isolate in GMS
Many projects in GMS can end up being visually busy. Having a large grid and dozens of features can make it hard to see specific areas clearly. To help with this, GMS provides the Hide, Show, and Isolate functions.
How to Hide Cells
This feature allows you to select different project cells and simultaneously hide them from view in the Graphics Window.
- Select the individual, or group of cells that need to be hidden.
- Once it is highlighted, click the Hide macro in the toolbar, or right-click and select the Hide command.
Remember that when cells are hidden from view this does not mean they have been deleted from your project entirely. Even if they are not visible it is only necessary to select the Show macro on the toolbar and the hidden cells will reappear.
Also, hiding cells does not make those cells inactive. They will still be included in your model run.
How to Show Cells
To reverse the hidden elements, click the Show macro in the toolbar and any hidden cells in your project will reappear. This can be important if you have inherited a project and suspect there are hidden cells.
Isolating Cells
Isolating cells hides cells that are not selected, unlike Hide which hides the selected cells. To isolate cells:
- Select the cells in the Graphics Window you wish to isolate.
- Once cells are highlighted, select the Isolate macro on the toolbar, or right-click and select the Isolate command.
Using a Polygon
Another option for isolating or hiding cells is to use a polygon in the map coverage. To do this:
- Right-click on the selected polygon.
- Click Select Intersecting Objects from the menu that appears.
- In the Select Objects of Type dialog choose the geometric object to use.
- With the cells selected, you can now use the Hide or Isolate function.

Try using the Hide, Show, and Isolate features in GMS today!


