We use cookies to make your experience better. To comply with the new e-Privacy directive, we need to ask for your consent to set the cookies. Learn more.

Trimming DEMs in WMS
Have you imported a DEM into WMS but wanted to trim it down to use only a part of the original data? WMS has tools designed to help you trim DEMs that you have imported into WMS, so you can use only the part of the data that's relevant to your model. In this article, we explore the ways that this can be done in WMS.
Trimming a DEM can help eliminate extra data that is not necessary for your project. Having a DEM that is too large or contains data that is irrelevant to your project can cause your project to operate slower and in some cases can skew the results of your project.
One option for trimming a DEM is when it's part of the GIS Data Module as a raster. To do this, draw a feature object polygon in a map coverage then select it. With the polygon selected, you can right-click on the raster and select the Convert To | Trimmed Raster command. This trims the raster along the border of the polygon. The trimmed raster can be converted, if desired, to a DEM that will show up under the Terrain Data folder.
Of course, there are also tools for trimming files that are already in the Terrain Data Module as DEMs. These tools can be accessed either through the DEM menu when in the Terrain Data Module or through the right-click menu for a DEM item in the Project Explorer. In both places, the tools are found in the Trim submenu.
There are two ways to trim DEMs in the Terrain Data Module: by elevation and by polygon.
When trimming a DEM by elevation, WMS brings up a dialog that lets you specify the maximum elevation that you want the DEM trimmed to. The newly created DEM will have only elevations up to the maximum elevation set in this dialog. The contours will likely change to represent the new range of values in the trimmed DEM.
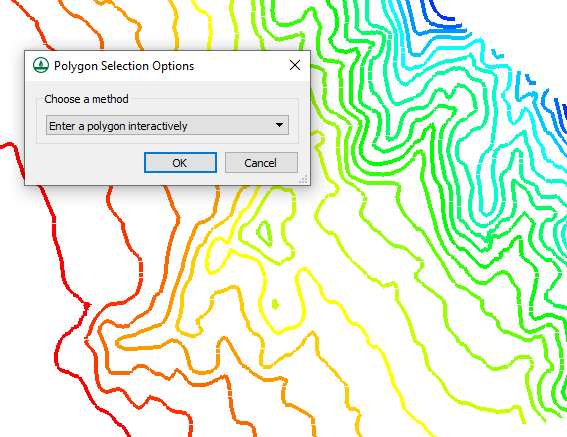
When trimming a DEM using a polygon, the program turns the mouse into a tool to click out the polygon in the Graphics Window. To finish the polygon, double-click where the last point is desired. Once the polygon is complete, the trimmed DEM is automatically created.
Note that a DEM created this way is still a rectangle. This is part of the definition of a DEM. However, only the points inside the drawn polygon will be active, so the displayed contours will end at the borders of the polygon you drew. The points that were outside the drawn polygon, which make up the rest of the bounding rectangle, are set to NODATA.
Take advantage of DEM trimming tools in WMS today!
September 7, 2022
|
View: 480
|
Categories: WMS
|
By: <a class="mp-info" href="https://aquaveo.com/blog/author/admin">Aquaveo Staff</a>
About the Author

Performing a Silent Install of XMS (Passwords & Hardware Locks)
October 10, 2018
Tips for Finding Information on the XMS Wiki
September 25, 2019
Aquaveo 2024 in Review
December 30, 2024
How to Fix MODFLOW General Head Boundary Errors Using GMS
February 18, 2025
Help with Flow Direction and Accumulation
December 17, 2024
Connecting UGrid Points with Arcs
May 6, 2025
Simplifying Nested Grids with the Spectral Coverage
April 29, 2025
Converting Solids to Scatter Sets in GMS
April 22, 2025
Simplifying Watershed Modeling with Rho8 Tools
April 15, 2025
Enhanced Structure Options for CMS-Flow
April 8, 2025