We use cookies to make your experience better. To comply with the new e-Privacy directive, we need to ask for your consent to set the cookies. Learn more.

How to Use TauDEM in WMS to Define Flow Paths
Using a watershed delineation tool is one of the first steps in creating a usable model for any sort of watershed, whether for conservation of natural resources, further development of a municipal drainage system, or determining potential flood zones. Tools such as TauDEM can make the process much simpler by basing those calculations off an existing DEM.
The process is generally straightforward:
- Import a DEM for the area in question.
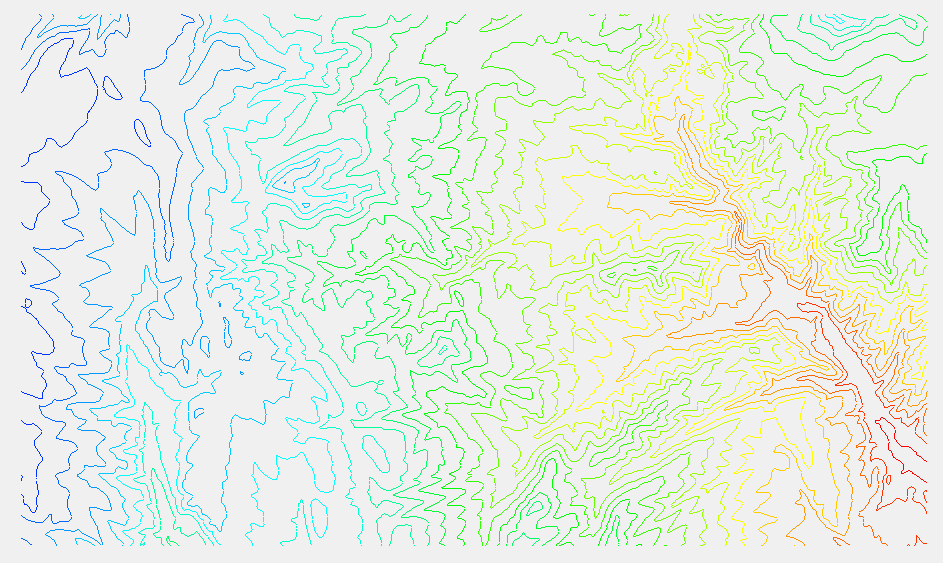
DEMs can be obtained many different ways. They can be imported directly using the features in WMS, they can be downloaded for free from the USGS and other governmental sites, or they can be created by you using lidar or similar tools. This is the DEM used in this example:
- Once the DEM is imported, activate the Drainage module.
- Select DEM | Compute Flow Direction/Accumulation... to bring up the Flow Direction/Accumulation Run Options dialog.
- Select Run TauDEM under Select the model to determine the flow direction/accumulation.
- If you want to use multiple processors, check the box next to Use MPICH2 and enter the number of processors.
If you don’t know if your computer has multiple processors, simply leave the box unchecked.
- If this is your first time running MPICH2, click Register MPIEXEC and enter your username and password at the prompt. This should be your Windows username and password.
- Click OK to close the Flow Direction/Accumulation Run Options dialog and bring up the Units dialog.
- Set the units to be appropriate for the location of the project and click OK.
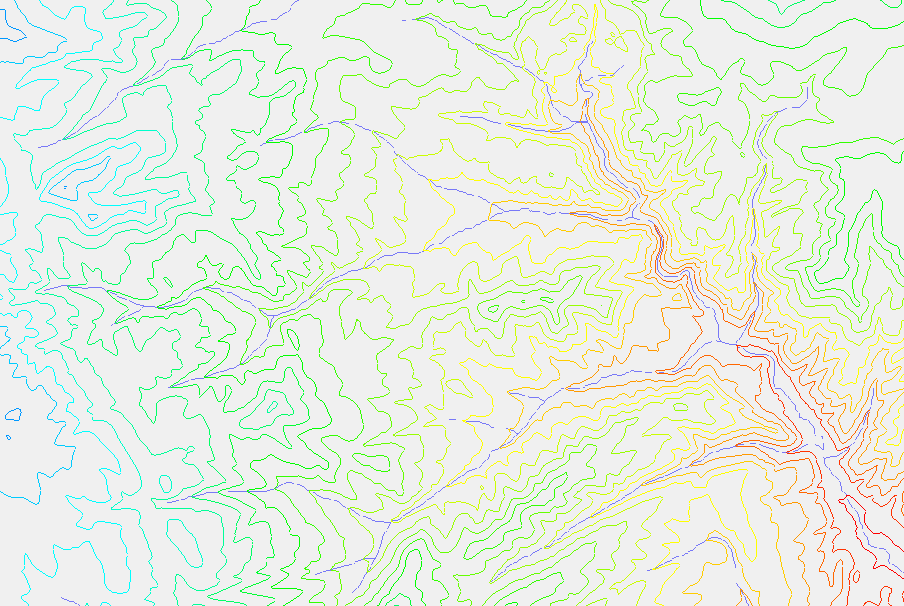
The watershed delineation process can take some time, depending on the size of the area being delineated and the computer being used. Once TauDEM has finished delineation, the cells accumulating the flow will appear.
- When TauDEM is finished running, click Close to exit the Model Wrapper dialog.
TauDEM is part of the Community Edition of WMS, so you can try out this feature today.
January 24, 2018
|
View: 2384
|
Categories: WMS
|
By: <a class="mp-info" href="https://aquaveo.com/blog/author/admin">Aquaveo Staff</a>
About the Author

Performing a Silent Install of XMS (Passwords & Hardware Locks)
October 10, 2018
Computing Basin Curve Numbers in 9 Easy Steps
May 16, 2023
Converting a NET File to an INP File
May 9, 2018
Performing a Silent Install for ALS
October 27, 2021
Tips for Finding Information on the XMS Wiki
September 25, 2019
Essential Boundary Condition Guide
March 17, 2026
How to Delineate a Well Capture Zone Using MODPATH
March 10, 2026
How to Decide between Structured or Unstructured Grids
March 3, 2026
Storing Time Series Data Using the Spatial Data Coverage
February 24, 2026
Perfect Realistic Conceptual Groundwater Models
February 17, 2026