We use cookies to make your experience better. To comply with the new e-Privacy directive, we need to ask for your consent to set the cookies. Learn more.

How to Convert LiDAR Data into an Mesh or Grid
High-resolution topographic data is the foundation of accurate 2D hydraulic models. LiDAR (Light Detection and Ranging) data provides the detail needed to capture subtle elevation changes that influence flow patterns. In the Surface-water Modeling System (SMS), you can convert LiDAR point clouds or raster DEMs into meshes or grids used in models like SRH-2D or ADCIRC. This post walks through the process of turning LiDAR data into an SMS-ready 2D mesh or elevation grid.
Step 1: Import LiDAR into SMS
LiDAR is typically delivered as LAS or LAZ point cloud files or as raster DEMs (e.g., GeoTIFF). SMS supports importing both types:
-
To import a raster DEM, use File > Open and select the GeoTIFF or DEM file and SMS will open it in the GIS Modul.
-
To import a point cloud, go to File > Open, select the *.las or *.laz file, and SMS will open it in the GIS Module.
SMS uses the imported elevation data to generate TINs (Triangulated Irregular Networks), grids, or 2D meshes depending on your modeling needs.
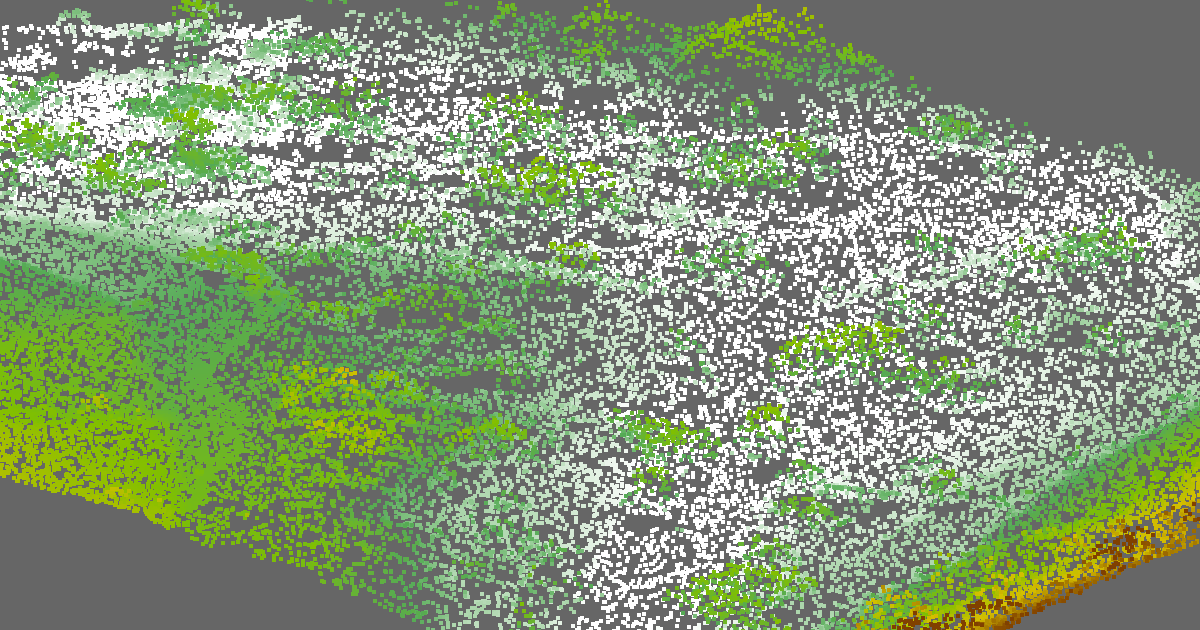
Step 2: Review the LiDAR data
Once the LiDAR is imported:
-
Look for high or low points in that data that may need to be removed.
-
Trim the data to remove excess data. In particular, tree tops may need to be removed for certain projects.
-
If necessary, merge multiple LiDAR files.
Either the TIN or raster will serve as your elevation source for mesh or grid generation.
Step 3: Generate a 2D Scatter Set
With the LiDAR data imported and prepared, it can now be used as an elevation source for a 2D mesh or unstructured grid (UGrid). The LiDAR
In SMS, right-click on the final LiDAR file and select Convert to 2D Scatter.
Step 4: Build the Mesh or Grid
Now that your elevation surface is ready, use the Map Module to define the simulation domain:
-
Draw polygons and arcs outlining the area to be meshed.
-
Assign mesh generation attributes (e.g., element size, boundary conditions).
-
Assign the scatter set created from the LiDAR data as your mesh elevation.
-
Right-click the coverage and select Map → 2D Mesh to generate the mesh.
SMS automatically interpolates elevation values from the scatter set to each mesh node or grid cell.
Step 5: Verify and Refine
After the mesh is generated, use Display Options > Contours to visualize elevation values and ensure the terrain has been captured accurately. Adjust mesh density in areas with sharp elevation changes for better hydraulic results.
Lidar data is powerful on its own, but when paired with SMS, it becomes the backbone of precise hydraulic and environmental models. Whether you’re simulating floodplain dynamics or ocean waves, SMS makes it easy to go from raw lidar to actionable results. Download SMS today!
September 23, 2025
|
View: 4647
|
Categories: SMS
|
By: <a class="mp-info" href="https://aquaveo.com/blog/author/admin">Aquaveo Staff</a>
About the Author

Performing a Silent Install of XMS (Passwords & Hardware Locks)
October 10, 2018
Converting a NET File to an INP File
May 9, 2018
Computing Basin Curve Numbers in 9 Easy Steps
May 16, 2023
Performing a Silent Install for ALS
October 27, 2021
Tips for Finding Information on the XMS Wiki
September 25, 2019
How to Determine Soil Texture Using NRCS Soil Data
June 16, 2026
Diagnosing Costly Model Stability Issues
June 9, 2026
New Display Enhancements in GMS 10.9
June 2, 2026
SMS 13.5 Beta Out Now!
May 26, 2026
Tips for Modeling Bridge Scour
May 19, 2026