We use cookies to make your experience better. To comply with the new e-Privacy directive, we need to ask for your consent to set the cookies. Learn more.
Creating a Transient Animation
After creating a transient dataset, it can be time consuming to click through each time step to evaluate the changes over time. One of the fastest ways to view changes in transient data is to create an animation.
Creating an animation in GMS can be done quickly using the Animation Wizard.

Once you have a transient dataset with multiple time steps in your project, do the following:
- Select the dataset you want to animate and make certain your project is displayed how you want to see it in the Graphics Window. The animation will be created from what is visible in the Graphics Window.
- Select the Animate command in the Display menu to open the Animation Wizard.
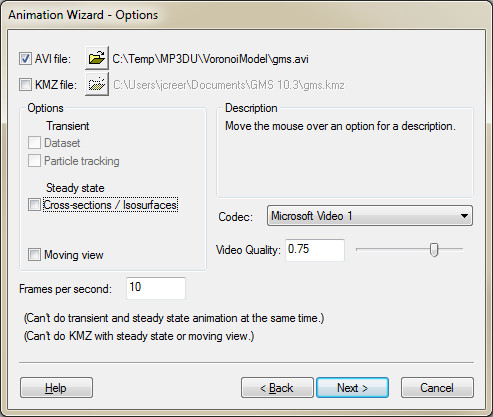
- In the first part of the Animation Wizard, select where you want to save your animation, what file type you wish to use and the animation quality.
- In the second part of the Animation Wizard, set your time duration and add a display clock. The options here will vary depending on what options were selected in the first part of the Animation Wizard.
- When you click Finish, GMS will create your animation.
If you selected the AVI file format, GMS will display it for you in the Play AVI Animation application (Pavia). This player is included with your installation of GMS. If you selected the KMZ format, GMS will display your animation in Google Earth (if it is installed).
Once you’ve created an animation, you can view it again when you reopen the project. To do this, select the Play Animation command in the Display menu. This will tell GMS to locate the animation file associated with the project and open it in the AVI player. This operation only works for AVI files.
Files can be exported in either AVI format or KMZ format. The AVI file can be used with most other video players, including Windows Media Player or QuickTime Player. KMZ files can be opened with Google Earth.
With the basics down, you can now try creating animations for your own projects in GMS.


