GMS

Tips for Working with Virtual Machines

Have you installed GMS, SMS, or WMS (collectively referred to as XMS) on a virtual machine in your office? Using a virtual machine is often done in order to run multiple operating systems, consolidate computing resources, provide integrated disaster recovery, or a number of other reasons. XMS software can be installed on a virtual machine in order to fit your needs. Here are some tips for working with XMS when using a virtual machine.

Virutal machine

First, make certain that your XMS license is compatible with a virtual machine. Both local and flex license codes can be used with a virtual machine. However, local codes will not allow the software to be used by other machines. Older single-user locks cannot be used with a virtual machine.

When using a flex license, the virtual machine will need to have access to the local network in order for other machines to access the XMS license and use the software. Both the XMS application and the Aquaveo License manager need to be installed on the virtual machine.

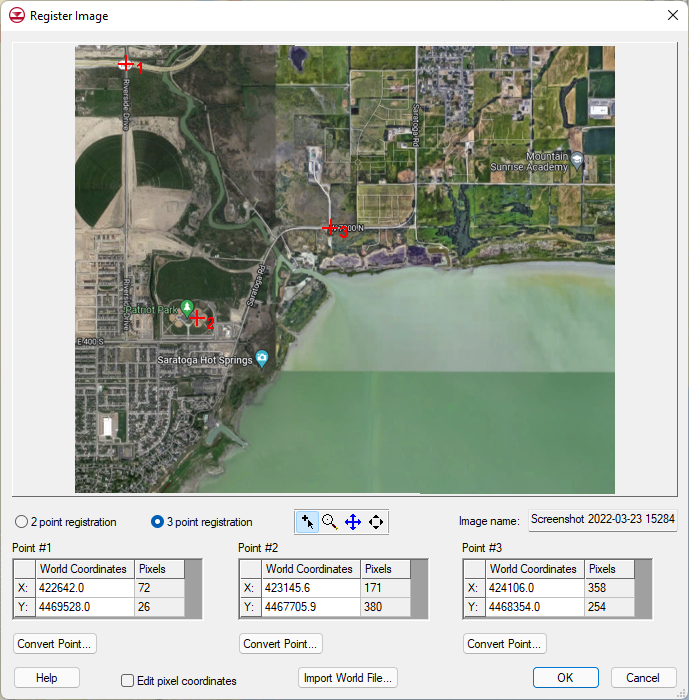
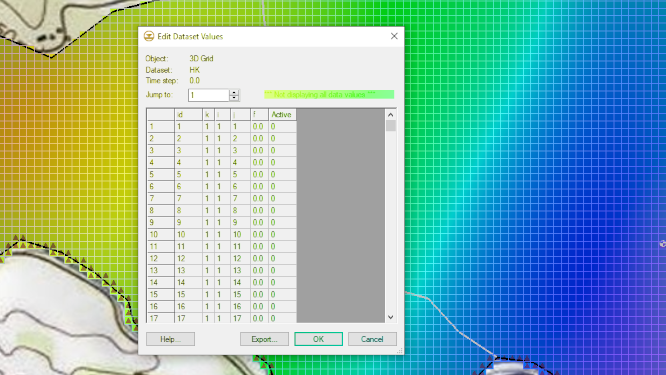
When sharing files between a virtual machine and a host machine, pay attention to where XMS is running. XMS requires that all files be placed where XMS is installed. Therefore, you cannot save your project on the host machine and run them from the virtual machine if XMS is installed on the virtual machine. You will need to move the files to the virtual machine where XMS and XMS license is installed.

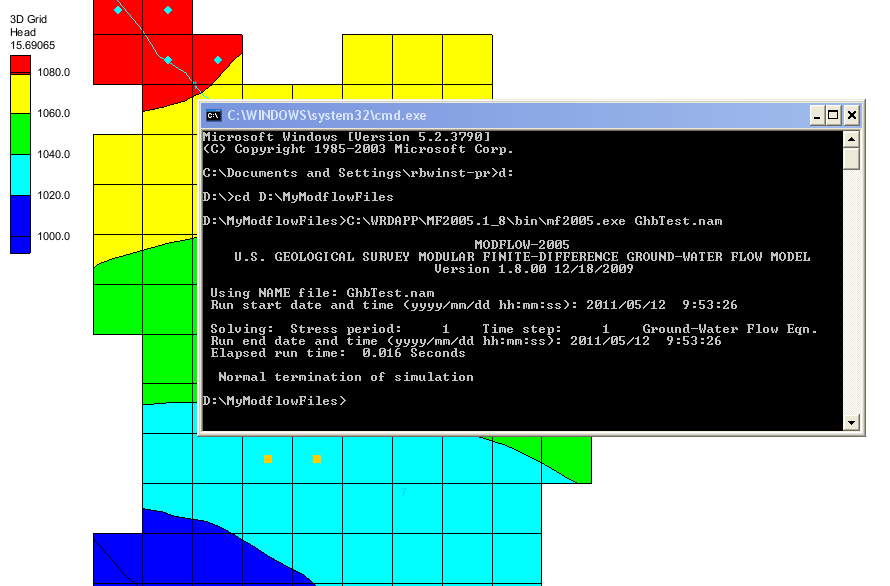
It should also be noted that some simulation runs and application processes in XMS will run slower on a virtual machine than running the same process directly on a physical machine. This is due to the nature of using a virtual machine. If there is a process that is taking an unusually long time, it is recommended that you try running the application on a physical machine.

If you are experiencing issues running XMS on a virtual machine, contact our technical support team and they will be happy to assist you.

Blog tags: 

Running MODFLOW Outside of GMS

Do you have a MODFLOW project you created in GMS, but realize you need to run MODFLOW outside of GMS? This is sometimes necessary if you have a very specific need for your project that can only be accomplished by modifying the exported files before running the MODFLOW simulation. This does not happen often, but when you do encounter a situation where you need to run MODFLOW outside of GMS, do the following:

  1. Open the MODFLOW Global Options and make certain that the Save as Native Text option has been turned on. This is necessary to generate files for your project that you can edit. With the native text option turned on, saving your project will generate the native text files.
  2. One you have the native text files generated, you can then edit the files manually using a text editor. GMS will create a separate directory with the native MODFLOW files. This directory will typically be the project name with "_text" appended to it. For example, if the project is named "Aquifer", the directory will be named "Aquifer_text". Keep these files together.
  3. Running MODFLOW using the Command Prompt
  4. To run the native files, use either a command line with a DOS prompt or a batch file. See guidance for how to do this on USGS's website.
  5. After you have successfully run your MODFLOW simulation, import back into GMS to visualize the results and perform additional analyses using the tools in GMS. You will need to start by importing either the NAM file or MFN file. These files contain a directory for the other files in the MODFLOW project and how they should be opened. It is important to keep all of the MODFLOW files together in the same directory. Having only the NAME or MFN file will not be enough to open the MODFLOW project. Files for the packages used with the project will typically have a file extension that matches the package. For example, the Wells package will have the extension "*.wel".

Running the native files outside of GMS can be used to validate results of a GMS model or to add custom parameters not available in GMS. However, Aquaveo may not be able to provide technical support for simulations that have been extensively modified outside of the GMS application.

Knowing how to run MODFLOW outside of GMS can give you more options for modeling with GMS. Try out GMS 10.6 today!

Blog tags: 

Registering an Image in XMS

Do you have an image that you would like to add to your project, but that image doesn’t have any coordinate information? Many projects require that you have an image or map that defines the proposed location for structures, wells, or other objects. In XMS (GMS, SMS, and WMS) the image needs to have coordinate information in order to correctly align with the project data. If your image does not have coordinate information, the Register Image dialog will appear.

Example of the Register Image dialog

To use the Register Image dialog, designate three points on the image and enter the coordinate information for those points. XMS will then use those coordinates to create the coordinate data for the entire image. It is possible to register an image using only two points, but three points is recommended.

If you do not know the coordinate information for any points on the image, here is a tip for getting coordinate information for the image.

  1. Click the Add Online Maps macro to open the Virtual Earth Map Locator dialog.
  2. Search for the area of your image by putting the name into the search bar and click Jump to Search Location.
  3. Be sure that the entire project bounds are within the window and match the area of your unregistered image.
  4. Download the new image and set the projection for this image.
  5. Note: you could just use this new image, but if the image you are trying to import shows the location of proposed structures, boreholes, etc., then you may need to still import the unregistered image.
  6. Outside of XMS, use a photo viewer to open the unregistered image.
  7. Compare both images and find three places where you can easily tell that the images match up.
  8. Now, in XMS, place your mouse over one of the three locations that you will need the geographical coordinates for.
  9. At the bottom of XMS you can view the coordinate information. Write down the coordinate information, then repeat in two other places.
  10. Now that you have all of the location coordinates you need to register the image, open the unregistered image file in XMS to bring up the Register Image dialog.
  11. Click the three points you have coordinate information for and enter in the coordinates that you wrote down earlier.
  12. After registering the image, check the alignment of the images if needed.
  13. Try registering an image for your project in SMS, GMS, or WMS today!

Blog tags: 

Exporting Using the View Values Command

In your groundwater model in GMS, do you need to export only a specific dataset value? GMS provides a way for you to export different dataset values and save them as text files that you can continue to edit outside of GMS. This post will cover exporting values using the View Values command.

To export data using the View Values command, select a dataset in the Project Explorer then right-click and select the View Values command. This will open the Edit Dataset Values dialog. This dialog shows an array of data values for the selected dataset. From the Edit Dataset Values dialog, you can export the data values in a couple ways.

Example of the Edit Dataset Values dialog

The first option is to click the Export button in the dialog. This will open the Dataset Filename dialog. Here you can give the exported file a name and save out the data as a tabular text formatted file. This exported file can be opened with a text editor or spreadsheet program. All values in the dataset will be exported with this value.

The second option is to select the data in the data array, then copy (Ctrl+C) and paste (Ctrl+V) the values into another document such as Excel or Google Docs. This method gives you the option to be selective about which data values to include. This method also allows you to save out the data in other file formats.

It is important to note that if you change the formatting in the text file, in excel, or google sheets and try to import the file back into GMS it may not import correctly. The format used in the Edit Dataset Values dialog is the format that GMS will be expecting when importing the data back into the project.

Try out exporting dataset values using the View Values command in GMS today!

Blog tags: 

Pages