5 Ways to Make Projects Work Faster
By aquaveo on July 25, 2018Have you ever noticed your SMS project taking a long time to open or running slow when you’re working in it? Does the project seem to lag when zooming or panning? Perhaps it is time to clean up your project so it runs faster.
While not every project can be made to load or work faster, there are some items that can be done to speed things up. In general, a project that takes a long time to open or operates slowly is usually a larger project with many large components. Having a detailed mesh or large raster files will often slow down SMS on many machines.
To get things going faster, here are five tips for making your project work faster.
1. Change Display Options
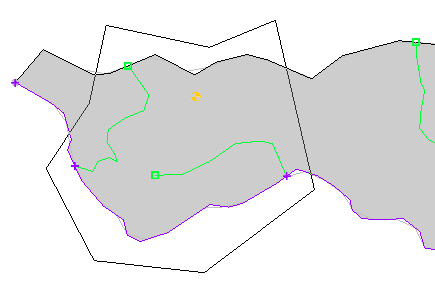
Having more objects visible in the Graphics Window will impact how quickly SMS can operate. When SMS is trying to display a lot of data, it will slow down. By reducing the amount of visual information in the Graphics Window, SMS can process faster. This can be done in two ways.
The first method is to hide items in the Project Explorer, such as images or map coverages that are not being currently used. Having several images and rasters showing can particularly slow down a project.
The second method is to open the Display Options dialog and turn off options that are not needed. Contours and vector displays and displaying mesh elements can particularly slow down SMS. Keeping the total number of active display options to a minimum when working with large projects can speed things up for you.
Finally, when opening a large project or file, turning off all or nearly all of the display options can reduce the time it takes to open.
2. Remove Unnecessary Files
Does your project have a lot of data in it? There is a chance that this is slowing things down. Removing files that are no longer needed from the project can help.
If you have already interpolated your elevation data to your mesh or grid, then that data can be removed. If you have a dynamic image in your project, SMS will update the image every time you zoom or pan. Replacing the dynamic image with a static image and removing the dynamic image will speed things up. Shapefiles can also be removed from the project once you’ve interpolated or converted their data.
3. Resample Rasters
Having a large raster or lidar file is not really that unusual. However, having a 10 gigabyte (or larger) file loaded into your project will make SMS run slower. In many cases, all of the data contained in these large files isn’t necessary for the model to run and obtain accurate results.
Resampling the raster to a lower resolution can help. If the raster has already been loaded into SMS, right-click on the raster in the Project Explorer and select Export to resample it. When done resampling and adding the resampled image, remember to remove the original file from the project.
SMS uses a simple resample process. For more controlled application of rasters, other software can be used.
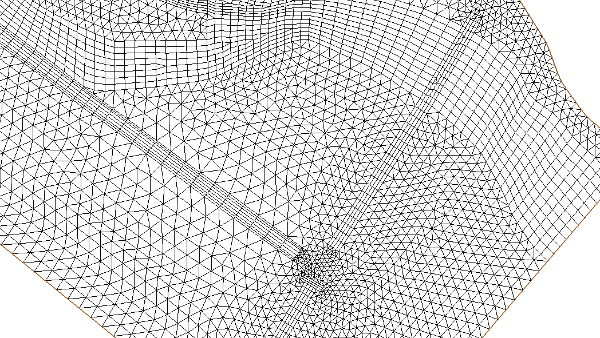
4. Refine the Mesh or Grid
Are you working with a detailed mesh or grid with a lot of elements? While fine detailed meshes and grids are sometimes needed, only certain parts of the mesh or grid may need those details. The rest of the mesh or grid can have larger elements without affecting the accuracy of the project.
For example, when using a mesh for a riverine model, fine elements are generally only needed around the channel and structures. The mesh will often still be suitable using larger elements further away from these key areas.
5. Keep the Number of Simulations Small
Having a lot of simulations in one project file is tempting. For models that use the simulation process, such as SRH-2D, there is no limit to the number you can create.
However, for each simulation in your project file, SMS has to load that instance of the simulation. While all of your simulations may use the same geometry, items such as the model parameters will have been duplicated and increase the file size.
Therefore, when possible, it is best to limit the number of simulations in the project. You may want to create copies of your project then only include simulations in each project that share a particular variable. For example, one project file might have simulations with 10 year predictions while another project file has simulations with 100 year predictions.
Try out any of these tips with your SMS projects today!